|
|
| (28 intermediate revisions by 4 users not shown) |
| Line 7: |
Line 7: |
| | introduced = [[0.12.0]]<br />(September 28th, 2023) | | | introduced = [[0.12.0]]<br />(September 28th, 2023) |
| | rounds = 1 | | | rounds = 1 |
| | players = 16 | | | players = 12-16 |
| | | maps = 14 |
| }} | | }} |
|
| |
|
| Line 13: |
Line 14: |
|
| |
|
| == Official Description == | | == Official Description == |
| | <blockquote>See [https://mcchampionship.com/pages/mcci-dynaball/ here] for Dynaball's page on the [https://mcchampionship.com forums].</blockquote> |
| Two teams of eight go head to head in this highly charged PVP game. Players must defend their territory, all the while attacking the enemy team with TNT and other fun gadgets to destroy their base and knock them into the void. The last people standing take the win. | | Two teams of eight go head to head in this highly charged PVP game. Players must defend their territory, all the while attacking the enemy team with TNT and other fun gadgets to destroy their base and knock them into the void. The last people standing take the win. |
|
| |
|
| Line 26: |
Line 28: |
| Players can obtain blocks for repairs from exploded sections and at the start of each Peace Phase, where they are given 6 additional blocks. Blocks can not be placed outside the building zone, which restricts players from bridging to the enemy's platform or too high above their own platform. | | Players can obtain blocks for repairs from exploded sections and at the start of each Peace Phase, where they are given 6 additional blocks. Blocks can not be placed outside the building zone, which restricts players from bridging to the enemy's platform or too high above their own platform. |
|
| |
|
| Every 10 seconds, crates consisting of two tiers - TNT and Loot - drop from the sky. Players can break them to receive Dynaballs and other items. | | Every 10 seconds, crates consisting of two tiers (TNT and Loot) drop from the sky. Players can break them to receive Dynaballs and other items. |
|
| |
|
| Excluding Dynaballs obtained from crates, there are a set amount of Dynaballs in play at one time - starting with 2, and then progressing to 4 and 6 in the third and seventh cycles respectively.<br />This means that, at the start of the game (and each time more Dynaballs are introduced into play), one player from each team is randomly selected to receive a Dynaball. Then, once a player uses their Dynaball, a random player from the enemy team is given a new Dynaball. | | Excluding Dynaballs obtained from crates, there are a set amount of Dynaballs in play at one time - starting with 2, and then progressing to 4 and 6 in the third and seventh cycles respectively.<br />This means that, at the start of the game (and each time more Dynaballs are introduced into play), one player from each team is randomly selected to receive a Dynaball. Then, once a player uses their Dynaball, a random player from the enemy team is given a new Dynaball. |
|
| |
|
| If a player holds onto a Dynaball for too long, it will warn the player before detonating, knocking them back in a random direction. | | If a player holds onto a Dynaball for too long, it will warn the player before detonating. When detonated, it will knock the player back in a random direction. |
|
| |
|
| Some maps contain [[File:Dynaball Sparkling Block.gif|32px]] sparkling blocks, which will grant players the levitation effect if blown up near them. | | Some maps contain [[File:Dynaball Sparkling Block.gif|32px]] sparkling blocks, which will grant players the levitation effect if blown up near them. |
|
| |
|
| After 10 cycles of the Boom and Peace phases, "TNT Time" starts and crates stop spawning - replaced by TNT that falls from the sky. | | After 10 cycles of Boom and Peace phases, "TNT Time" starts. Crates stop spawning, and instead TNT does. |
|
| |
|
| === Core Items === | | === Core Items === |
| {| class="wikitable" style="text-align: center; width: 100%" | | {| class="wikitable" style="text-align: center" |
| !Name | | !width="200px"|Slingshot |
| !Description | | !width="200px"|Dynaball |
| | !width="200px"|Repair Block |
| | |- |
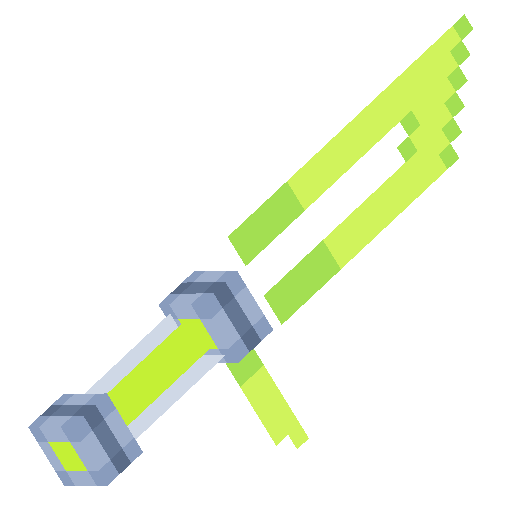
| | |[[File:Slingshot.png|200px]] |
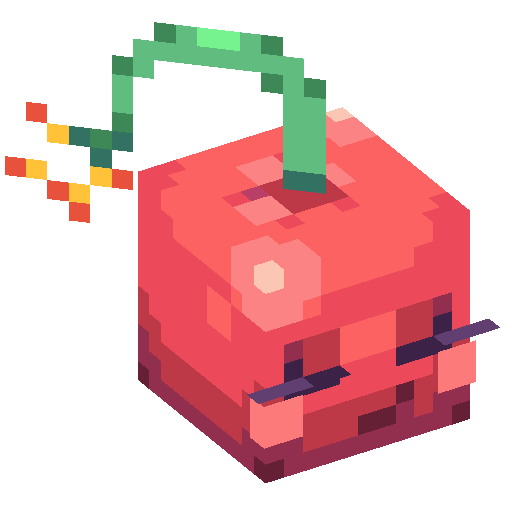
| | |[[File:Dynaball Ammo.png|200px]] |
| | |N/A |
| |- | | |- |
| |[[File:Slingshot.png|32px]] Slingshot
| |
| |Used to launch Dynaballs, Spawners and Powder Bombs. | | |Used to launch Dynaballs, Spawners and Powder Bombs. |
| |- | | |Used as ammo. Detonates shortly after landing.<br />If the ball comes into contact with a player it sticks to them. A stuck dynaball will shortly after explode into a cluster of more dynaballs. |
| |Repair Block
| |
| |Blocks that are used to repair the terrain. Repair blocks are flammable. | | |Blocks that are used to repair the terrain. Repair blocks are flammable. |
| |} | | |} |
|
| |
|
| === Loot Crate Drops === | | === Loot Crates === |
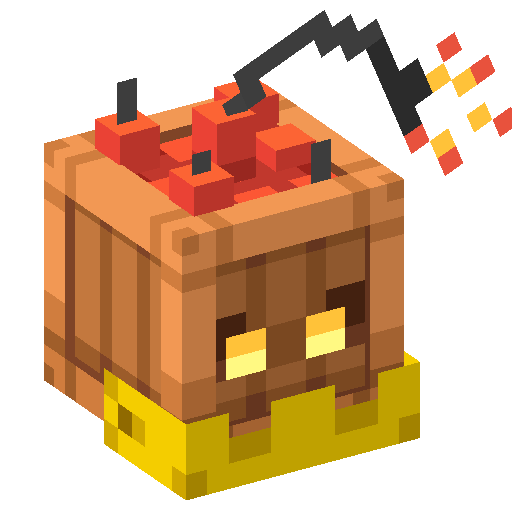
| ==== [[File:Dynaball TNT Crate.png|32px]] TNT Crate ==== | | ==== [[File:Dynaball TNT Crate.png|32px]] TNT Crate ==== |
| The following is a list of items you can receive from breaking TNT Crates:
| | TNT Crates are always guaranteed to drop 1 [[File:Dynaball Ammo.png|32px]] Dynaball when broken by a player. If a TNT Crate is broken by explosion, it will act like TNT and make its own explosion. |
| {| class="wikitable" style="text-align: center; width: 100%"
| |
| !Name
| |
| !Official Description
| |
| |-
| |
| |[[File:Dynaball Ammo.png|32px]] Dynaball
| |
| |Used as ammo. Detonates shortly after landing.
| |
| <br />If the ball comes into contact with a player it sticks to them. A stuck dynaball will shortly after explode into a cluster of more dynaballs.
| |
| |}
| |
|
| |
|
| ==== [[File:Dynaball Loot Crate.png|32px]] Loot Crate ==== | | ==== [[File:Dynaball Loot Crate.png|32px]] Loot Crate ==== |
| The following is a list of items you can receive from breaking Loot Crates: | | The following items can be dropped when a player breaks a Loot Crate: |
| | |
| | <small>''The "Weight" column indicates how many items will drop per rotation before they can drop again.''</small> |
| {| class="wikitable" style="text-align: center; width: 100%" | | {| class="wikitable" style="text-align: center; width: 100%" |
| !Name | | ! Name |
| !Official Description | | ! Official Description |
| | ! Weight |
| |- | | |- |
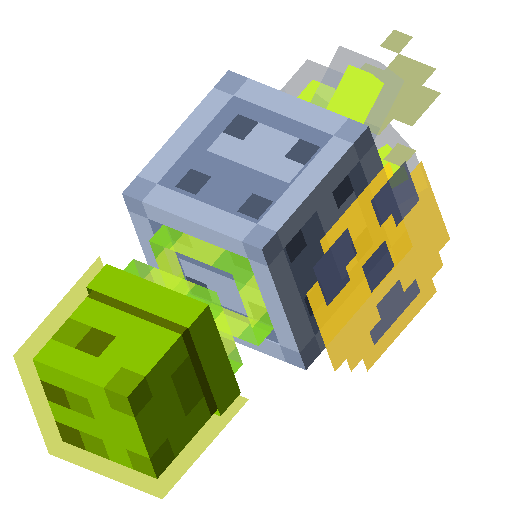
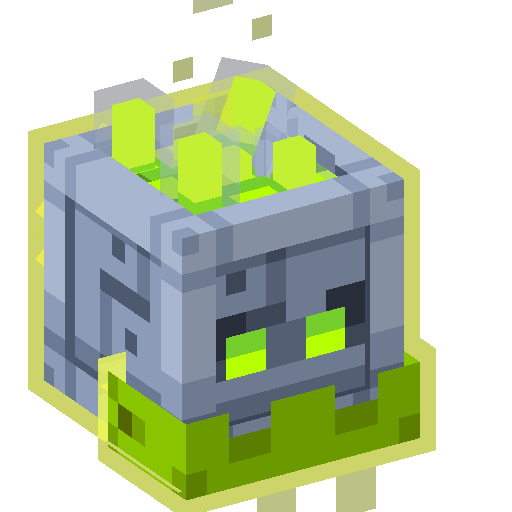
| |[[File:Spawner o' Creepies.png|32px]] Spawner o' Creepies [[File:Dynaball Creeper Spawner.png|32px]] | | |<div style="text-align: center">[[File:Spawner o' Creepies.png|64px]] [[File:Dynaball Creeper Spawner.png|64px]]</div> Spawner o' Creepies |
| |Used as ammo. Sticks to terrain upon landing and starts spawning creepers until destroyed.<br />Spawners can be destroyed by hand. | | |Used as ammo. Sticks to terrain upon landing and starts spawning creepers until destroyed.<br />Spawners can be destroyed by hand. |
| | |2 |
| |- | | |- |
| |[[File:Spawner o' Skellys.png|32px]] Spawner o' Skellys [[File:Dynaball Skeleton Spawner.png|32px]] | | |<div style="text-align: center">[[File:Spawner o' Skellys.png|64px]] [[File:Dynaball Skeleton Spawner.png|64px]]</div> Spawner o' Skellys |
| |Used as ammo. Sticks to terrain upon landing and starts spawning skeletons until destroyed.<br />Skeletons shoot dynaballs at players.<br />Spawners can be destroyed by hand. | | |Used as ammo. Sticks to terrain upon landing and starts spawning skeletons until destroyed.<br />Skeletons shoot dynaballs at players.<br />Spawners can be destroyed by hand. |
| | |2 |
| |- | | |- |
| |[[File:Spawner o' Zombos.png|32px]] Spawner o' Zombos [[File:Dynaball Zombie Spawner.png|32px]] | | |<div style="text-align: center">[[File:Spawner o' Zombos.png|64px]] [[File:Dynaball Zombie Spawner.png|64px]]</div> Spawner o' Zombos |
| |Used as ammo. Sticks to terrain upon landing and starts spawning Zombies until destroyed.<br />Spawners can be destroyed by hand. | | |Used as ammo. Sticks to terrain upon landing and starts spawning Zombies until destroyed.<br />Spawners can be destroyed by hand. |
| | |2 |
| |- | | |- |
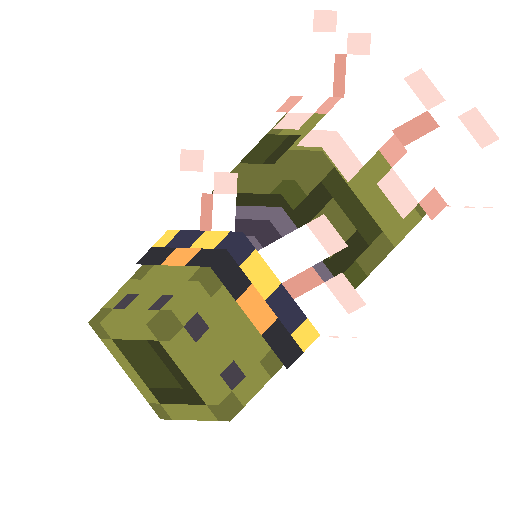
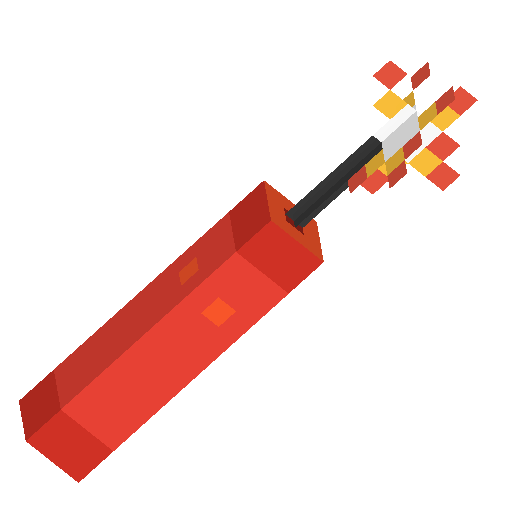
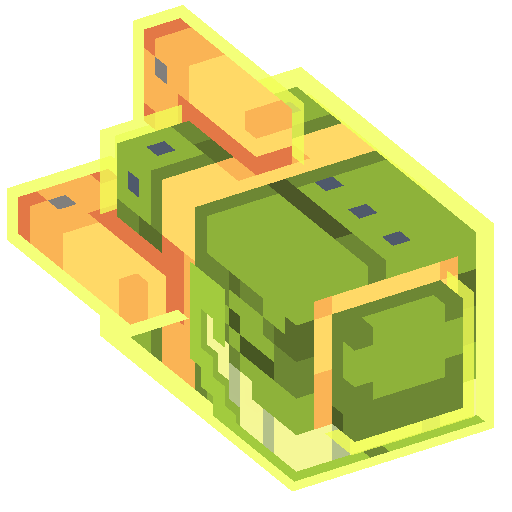
| |[[File:Powder Bomb.png|32px]] Powder Bomb | | |[[File:Powder Bomb.png|64px|center]] Powder Bomb |
| |Used as ammo. Upon impact it disintegrates blocks into powder within the blast area.<br />Powder is affected by gravity. | | |Used as ammo. Upon impact it disintegrates blocks into powder within the blast area.<br />Powder is affected by gravity. |
| | |2 |
| |- | | |- |
| |[[File:Chicken Air Strike.png|32px]] Chicken Air Strike | | |[[File:Chicken Air Strike.png|64px|center]] Chicken Air Strike |
| |Call in a chicken air strike by aiming at a target location.<br />The strike chicken flies in a straight line laying a line of dynaballs until it flies off into the sunset. | | |Call in a chicken air strike by aiming at a target location.<br />The strike chicken flies in a straight line laying a line of dynaballs until it flies off into the sunset. |
| | |1 |
| |- | | |- |
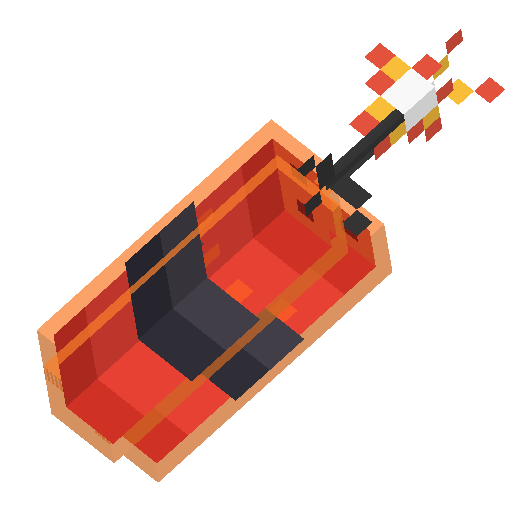
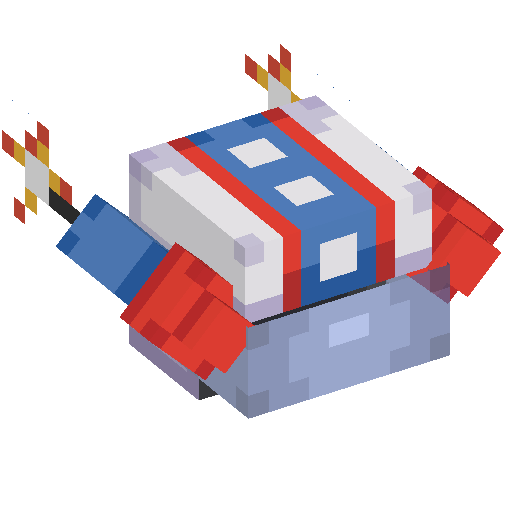
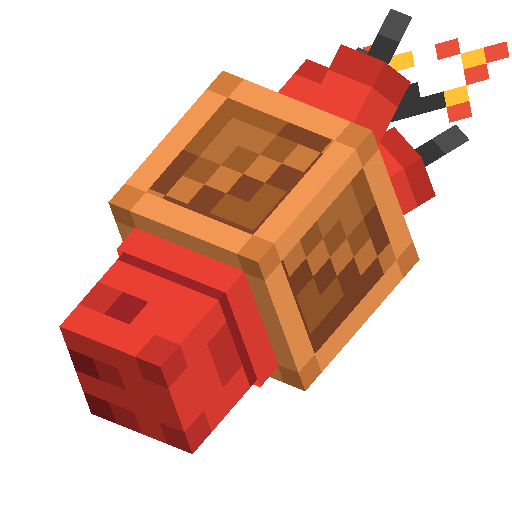
| |Rocket Cannon | | |Rocket Cannon |
| |The Rocket Cannon from Rocket Spleef.<br />Shoots a fast moving rocket in a straight line that explodes on impact destroying blocks and knocking back enemies.<br />Carries a maximum of 3 rockets. | | |The Rocket Cannon from Rocket Spleef.<br />Shoots a fast moving rocket in a straight line that explodes on impact destroying blocks and knocking back enemies.<br />Carries a maximum of 3 rockets. |
| | |1 |
| |- | | |- |
| |[[File:Jump Potion.png|32px]] Jump Potion | | |[[File:Jump Potion.png|64px|center]] Jump Potion |
| |Jump Boost II (01:30)<br />Drink a potion to increase your jumping height. | | |Jump Boost II (01:30)<br />Drink a potion to increase your jumping height. |
| | |1 |
| |- | | |- |
| |[[File:Speed Potion.png|32px]] Speed Potion | | |[[File:Speed Potion.png|64px|center]] Speed Potion |
| |Speed (03:00)<br />When Applied:<br />+20% Speed<br />Drink a potion to increase your movement speed. | | |Speed (03:00)<br />When Applied:<br />+20% Speed<br />Drink a potion to increase your movement speed. |
| | |1 |
| |- | | |- |
| |[[File:Spark Of Levitation.png|32px]] Spark Of Levitation III | | |[[File:Spark Of Levitation.png|64px|center]] Spark Of Levitation III |
| |Levitate yourself 13 blocks over 12s. | | |Levitate yourself 13 blocks over 12s. |
| | |2 |
| | |- |
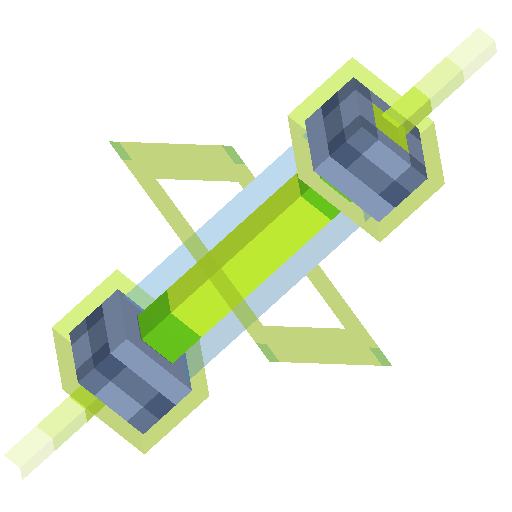
| | |[[File:Line Charge.png|64px|center]] Line Charge |
| | |Send out a slow-flying device that sticks to a block and after 1 sec drills out the longest line of connected blocks from the impact point. |
| | |2 |
| | |- |
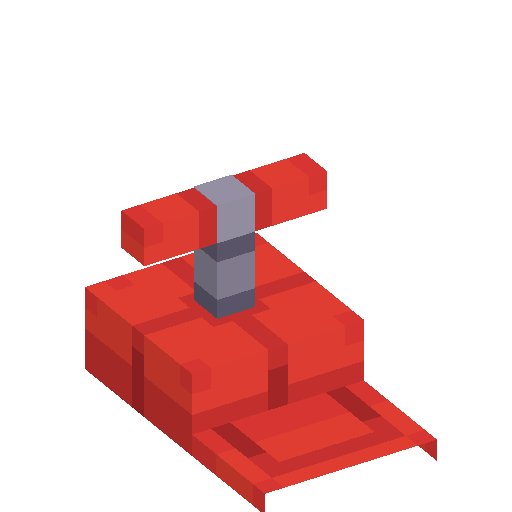
| | |<div style="text-align: center;">[[File:TNT Drop.png|64px]] [[File:TNT Drop Target.png|64px]]</div> TNT Drop |
| | |Mark a flare that calls in a TNT Drop after 0.5 sec dropping 2 TNT in a cluster from above. |
| | |3 |
| |} | | |} |
|
| |
|
| === Maps === | | == Experience Table == |
| <gallery mode="packed" heights="225">
| | The table below depicts how Island XP is granted to players for Dynaball: |
| DYB Armada.png|Armada
| | {| class="wikitable" |
| DYB Battlement.png|Battlement
| |
| DYB West Wall.png|Best Wall
| |
| DYB Bombardment.png|Bombardment
| |
| DYB Dominoes.png|Dominoes
| |
| DYB Jenga.png|Jenga
| |
| DYB Strike.png|Strike
| |
| DYB Thunderstorm.png|Thunderstorm
| |
| </gallery>
| |
| | |
| == [[File:Icon-Badges.png|32px]] Badges ==
| |
| Currently, there are 53 stages of badges for Dynaball, rewarding a total of 2,730 [[File:Icon-Champion Score.png|16px]] trophies.
| |
| {| class="wikitable" style="text-align: center; width: 100%" | |
| !colspan="2"|Name
| |
| !Description
| |
| ![[File:Icon-Champion Score.png|16px]] Trophies Rewarded
| |
| |- | | |- |
| |[[File:Airstrike Assassin Badge.png|50px]]
| | !Threshold |
| |Airstrike Assassin
| | !Island XP Earned |
| |Eliminate 2 players within 5-15s of using an airstrike during a game of Dynaball.
| |
| |35
| |
| |- | | |- |
| |[[File:Dynaball Champion Badge.png|50px]] | | |Team Win |
| |Dynaball Champion <br /> ('''I''' - '''VII''')
| | |350 |
| |Win '''3''' / '''7''' / '''15''' / '''30''' / '''60''' / '''100''' / '''175''' games of Dynaball while surviving to the end.
| |
| |'''Stages''': 10 / 15 / 25 / 35 / 50 / 70 / 100 <br /> '''Total''': 305 | |
| |- | | |- |
| |[[File:Dynaball Demolitionist Badge.png|50px]] | | |Survived 6 minutes |
| |Dynaball Demolitionist <br /> ('''I''' - '''VII''')
| | |300 |
| |Destroy '''2000''' / '''6000''' / '''15000''' / '''30000''' / '''60000''' / '''100000''' / '''150000''' blocks in a game of Dynaball.
| |
| |'''Stages''': 10 / 15 / 25 / 35 / 50 / 70 / 100 <br /> '''Total''': 305 | |
| |- | | |- |
| |[[File:Dynaball Engineer Badge.png|50px]] | | |Survived 4 minutes |
| |Dynaball Engineer
| | |175 |
| |Place '''1000''' / '''3000''' / '''7000''' / '''15000''' / '''25000''' / '''45000''' / '''80000''' repair blocks in games of Dynaball.
| |
| |'''Stages''': 10 / 15 / 25 / 35 / 50 / 70 / 100 <br /> '''Total''': 305 | |
| |- | | |- |
| |[[File:Dynaball Sniper Badge.png|50px]] | | |Survived 3 minutes |
| |Dynaball Sniper <br /> ('''I''' - '''VII''')
| | |100 |
| |Eliminate '''10''' / '''30''' / '''75''' / '''150''' / '''275''' / '''450''' / '''800''' players in games of Dynaball.
| |
| |'''Stages''': 10 / 15 / 25 / 35 / 50 / 70 / 100 <br /> '''Total''': 305 | |
| |- | | |- |
| |[[File:Dynaball Spawner Smasher Badge.png|50px]] | | |Survived 2 minutes |
| |Dynaball Spawner Smasher <br /> ('''I''' - '''VII''') | | |75 |
| |Destroy '''10''' / '''30''' / '''75''' / '''150''' / '''275''' / '''450''' / '''800''' in games of Dynaball.
| |
| |'''Stages''': 10 / 15 / 25 / 35 / 50 / 70 / 100 <br /> '''Total''': 305
| |
| |- | | |- |
| |[[File:Dynaball Survivor Badge.png|50px]] | | |Survived 1 minute |
| |Dynaball Survivor <br /> ('''I''' - '''VII''')
| | 30 seconds |
| |Survive for at least 2 minutes in '''15''' / '''50''' / '''100''' / '''200''' / '''375''' / '''600''' / '''1100''' games of Dynaball.
| |
| |'''Stages''': 10 / 15 / 25 / 35 / 50 / 70 / 100 <br /> '''Total''': 305
| |
| |-
| |
| |[[File:Dynaballin Badge.png|50px]]
| |
| |Dynaballin
| |
| |Eliminate 3 players within 10s in a game of Dynaball.
| |
| |50 | | |50 |
| |- | | |- |
| |[[File:Dynamite Dreadlord Badge.png|50px]] | | |Survived 1 minute |
| |Dynamite Dreadlord
| | |20 |
| |Eliminate at least 5 players in a single game of Dynaball.
| |
| |25 | |
| |- | | |- |
| |[[File:Final Survivor Badge.png|50px]] | | |Survived 30 seconds |
| |Final Survivor
| | |10 |
| |Win a game of Dynaball as the only remaining player on your team.
| |
| |15 | |
| |- | | |- |
| |[[File:Massive Repairs Badge.png|50px]] | | !colspan="2"|Bonus |
| |Massive Repairs
| |
| |Place at least 200 repair blocks in a single game of Dynaball.
| |
| |15
| |
| |- | | |- |
| |[[File:Slapstick Challenge Badge.png|50px]] | | |15 Players Stuck |
| |Slapstick Challenge
| |
| |Complete the Slapstick Game Pass Challenge.
| |
| |100 | | |100 |
| |- | | |- |
| |[[File:Slapstick Pass Badge.png|50px]] | | |10 Players Stuck |
| |Slapstick Pass | | |75 |
| |Reach level 25 of the Slapstick Game Pass. | | |- |
| |250 | | |8 Players Stuck |
| | |50 |
| |- | | |- |
| |[[File:Nuclear Challenge Badge.png|50px]] | | |6 Players Stuck |
| |Nuclear Challenge
| | |30 |
| |Complete the Nuclear Game Pass Challenge.
| |
| |100 | |
| |- | | |- |
| |[[File:Nuclear Pass Badge.png|50px]] | | |4 Players Stuck |
| |Nuclear Pass
| | |20 |
| |Reach level 25 of the Nuclear Game Pass.
| |
| |250 | |
| |- | | |- |
| |[[File:Tactical Powder Badge.png|50px]] | | |2 Players Stuck |
| |Tactical Powder
| | |10 |
| |Turn an enemy crate into powder using a powder bomb during a game of Dynaball.
| |
| |25 | |
| |- | | |- |
| |[[File:Ultimate Baller Badge.png|50px]] | | |1 Players Stuck |
| |Ultimate Baller
| | |5 |
| |Win a game of Dynaball as the only remaining player on your team facing off against at least 3 opponents.
| |
| |35 | |
| |} | | |} |
| | |
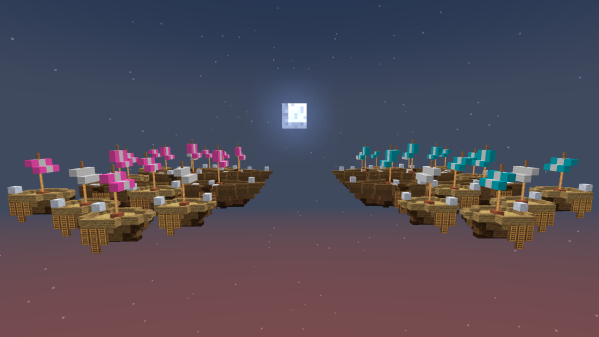
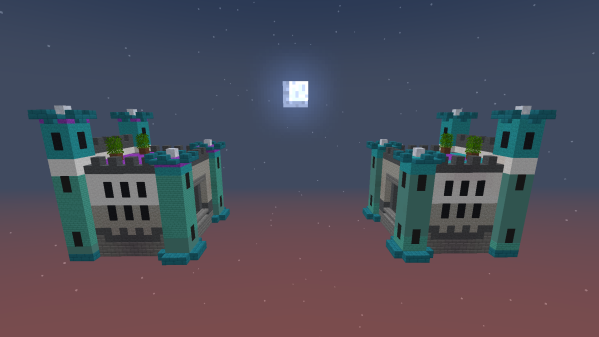
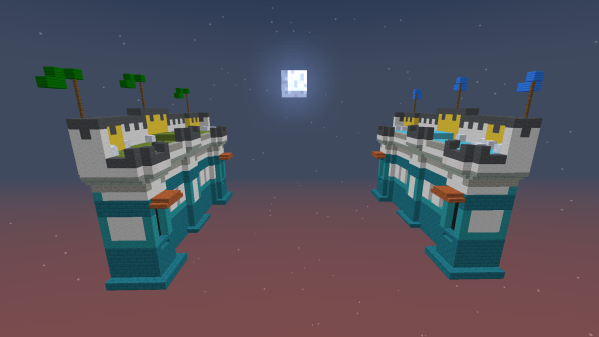
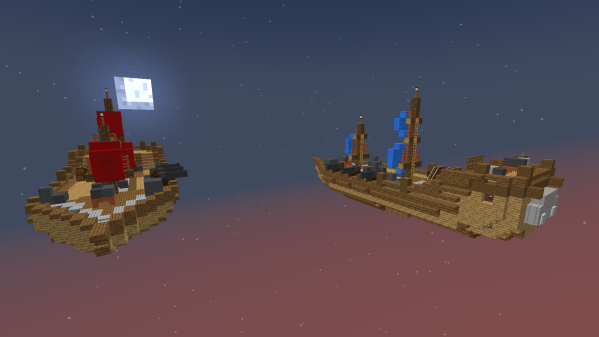
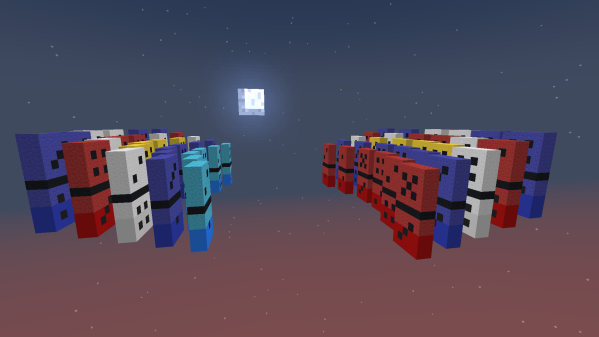
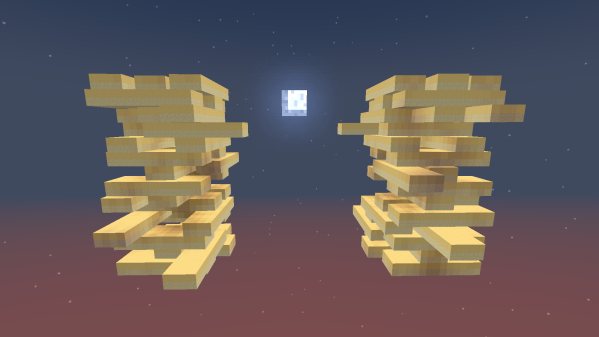
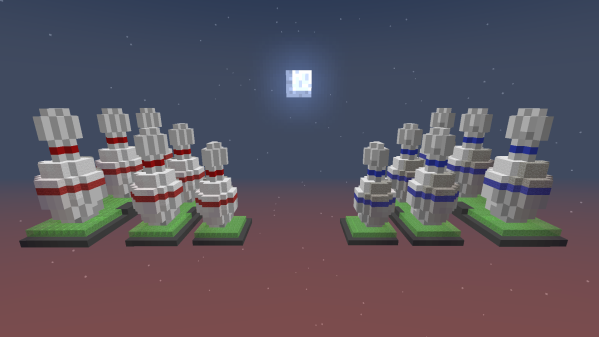
| | == Maps == |
| | <gallery mode="packed" heights="225"> |
| | DYB Armada.png|Armada |
| | DYB Battlement.png|Battlement |
| | DYB West Wall.png|Best Wall |
| | DYB Bombardment.png|Bombardment |
| | DYB Dominoes.png|Dominoes |
| | DYB Jenga.png|Jenga |
| | DYB Strike.png|Strike |
| | DYB Thunderstorm.png|Thunderstorm |
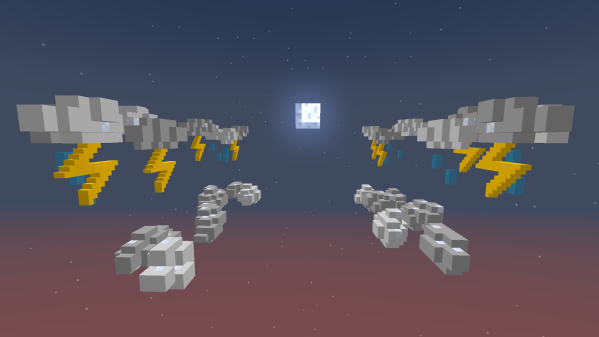
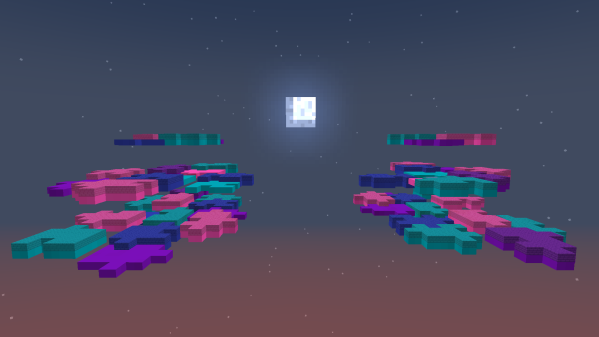
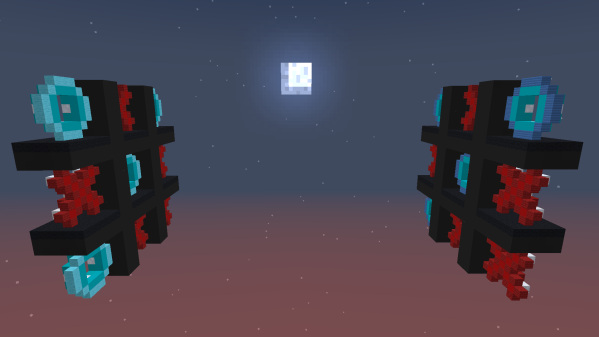
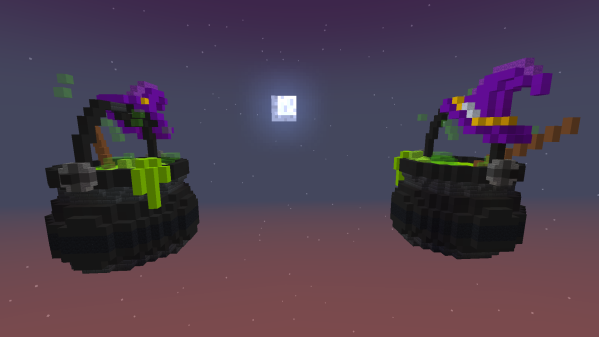
| | DYB Jigsaw.png|Jigsaw (Since [[0.13.0]]) |
| | DYB XOXO.png|XOXO (Since [[0.13.0]]) |
| | DYB Cauldron.png|Cauldron (Since [[0.14.0]]) |
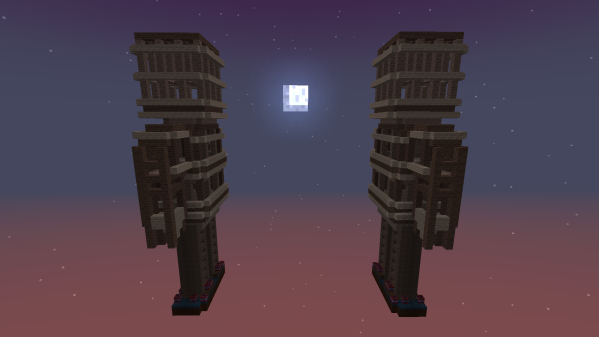
| | DYB Wickerman.png|Wickerman (Since [[0.14.0]]) |
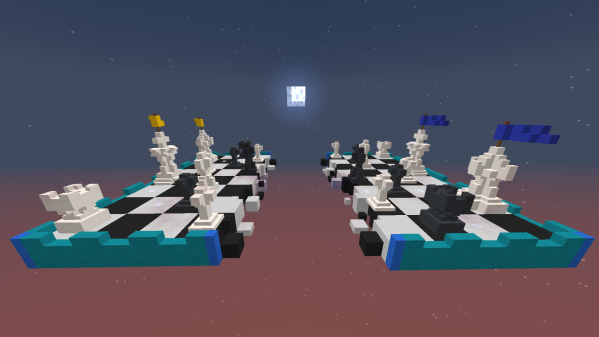
| | DYB Chessboard.png|Chessboard (Since [[0.17.0]]) |
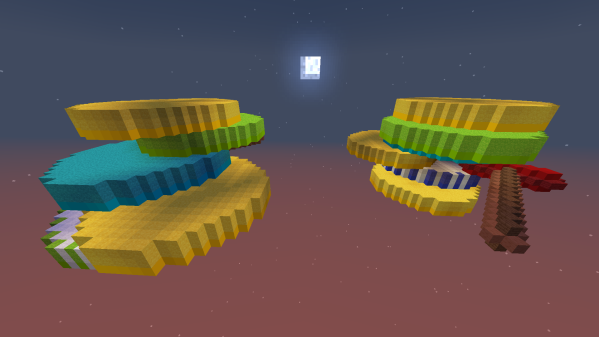
| | DYB Daruma Otoshi.png|Daruma Otoshi (Since [[0.17.0]]) |
| | </gallery> |
| | |
| | === Limited Time Maps === |
| | Some maps are exclusively available for the duration of certain [[:Category:Events|events]]: |
| | <gallery widths="500" heights="225" mode="packed"> |
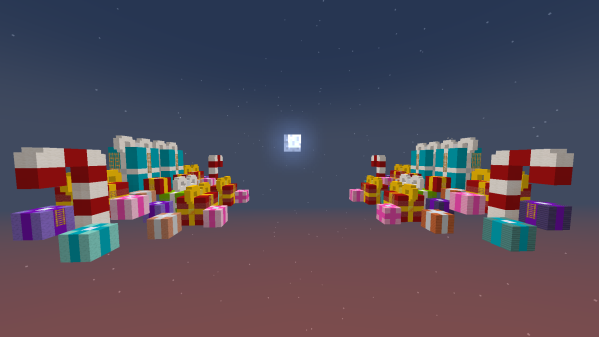
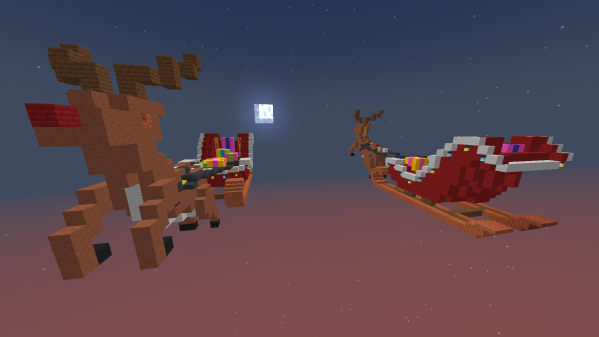
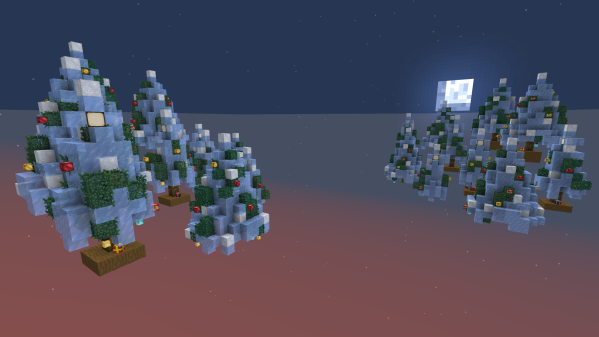
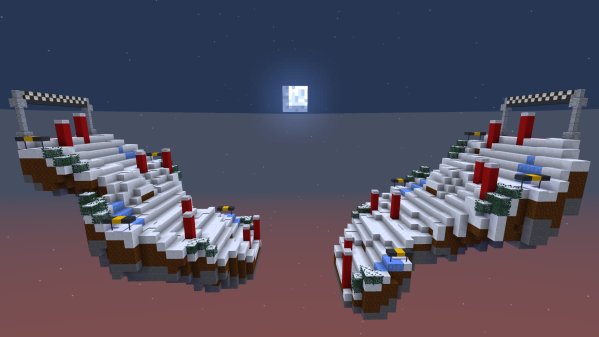
| | DYB Presents.png|Presents (Winter [[Winter 2023|2023]] and [[Winter 2024|2024]]) |
| | DYB Sled.png|Sled (Winter [[Winter 2023|2023]] and [[Winter 2024|2024]]) |
| | DYB Frozen Trees.png|Frozen Trees ([[Winter 2024]]) |
| | DYB Slalom.png|Slalom ([[Winter 2024]]) |
| | </gallery> |
| | |
| | == [[File:Icon-Badges.png|32px]] Badges == |
| | {{Template:Badges/Dynaball}} |
|
| |
|
| == [[File:Icon-GamePasses.png|32px]] Game Passes == | | == [[File:Icon-GamePasses.png|32px]] Game Passes == |
| === [[File:Slapstick Game Pass.png|32px]] Slapstick === | | {{Removed |
| TBA
| | | section = Game Passes |
| | }}{{Template:Game Passes/Dynaball}} |
| | |
| | == [[File:Icon-Plobby.png|32px]] Plobby Settings == |
| | {{Main|Private Lobby}} |
| | <onlyinclude>The following settings can be specifically applied to <includeonly>[[</includeonly>Dynaball<includeonly>]]</includeonly><noinclude> while in a private lobby</noinclude>: |
| | {{Scrollbox|height=250px|non_mobile_width=650px|text=<nowiki/> |
| | * [[File:Icon-Splinters-Workshop.png|25px]] '''Allow Building''' [On] <br /> Configures whether players are allowed to build. If disabled there is no peace phase or block drops. |
| | * [[File:Icon-Plobby-Setting-EnableCrateItems.png|25px]] '''Enabled Crate Items''' [All Enabled] <br /> Configures which items can drop from crates. |
| | * [[File:Icon-Plobby-Setting-MapPool.png|25px]] '''Map Pool''' [All Enabled] <br /> Configures which maps will be used for this game. |
| | * [[File:Slapstick_Game_Pass.png|25px]] '''Spawn TNT Crates''' [On] <br /> Configures whether TNT crates will spawn. |
| | * [[File:Scrapper.png|25px]] '''TNT Strength''' [25%] <br /> Multiplies the strength of TNT explosion knockback. Must be between 1% and 300%. |
| | }}<noinclude><small>''Note: Default values for each setting are shown in square brackets.''</small><br /></noinclude> |
| | Enabled crate items have the following weights by default when Advanced Selection is enabled: |
| | {{div col}} |
| | * Chicken Air Strike - 1 |
| | * Jump Potion - 1 |
| | * Line Charge - 2 |
| | * Powder Bomb - 2 |
| | * Rocket Cannon - 1 |
| | * Spark of Levitation III - 2 |
| | * Spawner o' Creepies - 2 |
| | * Spawner o' Skellys - 2 |
| | * Spawner o' Zombos - 2 |
| | * Speed Potion - 1 |
| | * TNT Drop - 3 |
| | {{div col end}}</onlyinclude> |
| | |
| | == Early Version: Dynamite Dodgeball == |
| | [[File:Dynamite Dodgeball.jpeg|350px|right]] |
| | An early iteration of Dynaball called "Dynamite Dodgeball" was played for the YouTube Gaming Event, [https://www.youtube.com/watch?v=9nXpWUlPM0c Game On], on August 27th, 2022. This sparked discussion among MCC Island's community as to whether or not the game would come to the server. |
| | |
| | Ten creators took part in two teams of 5: |
| | * Blue Team - Dream, EyStreem, Fuze III, GeorgeNotFound and TommyInnit. |
| | * Red Team - Gab Smolders, JackSepticEye, LaurenzSide, LDShadowLady and Sapnap. |
| | |
| | The game had only two features at the time, both of which were expanded upon prior to Dynaball's actual release - Launching TNT with a slingshot and sticking players by landing TNT on them directly. |
| | |
| | The first team to reach 2 round wins would progress to the final round, where only the losing team could launch TNT. The last player standing on the winning team was declared the "Dynamite Dodgeball Champion". |
| | |
| | The event allowed the chat to choose between two Map Packs, "Castles" and "Pirate Ships," with "Pirate Ships" being the selected map pack. The maps from both packs resembled early versions of Armada, Battlement, Best Wall, and Bombardment. |
| | |
| | Fuze III from the Blue Team emerged as the Champion, winning a pile of crowns and initiating a bonus round, in which he "dunked" all the other players by exploding their platform with TNT while standing on a throne. |
| | |
| | The segment concluded with a small cutscene paying tribute to Technoblade, in which a pig picked up a crown from the pile and placed it on its head. |
|
| |
|
| === [[File:Nuclear Game Pass.png|32px]] Nuclear ===
| |
| <div style="overflow: auto">
| |
| {|
| |
| !
| |
| !1
| |
| !2
| |
| !3
| |
| !4
| |
| !5
| |
| !6
| |
| !7
| |
| !8
| |
| !9
| |
| !10
| |
| !11
| |
| !12
| |
| !13
| |
| !14
| |
| !15
| |
| !16
| |
| !17
| |
| !18
| |
| !19
| |
| !20
| |
| !21
| |
| !22
| |
| !23
| |
| !24
| |
| !25
| |
| ![[File:Icon-GamePassMasteryChallenge.png|50px|center]]
| |
| |-
| |
| |PREMIUM<br />ROAD
| |
| |[[File:Scroll Quest Reroll Token.png|50px|center]]
| |
| |[[File:Rare Coin Quest Scroll.png|50px|center]]
| |
| |[[File:Large Currency Pouch.png|50px|center]]
| |
| |[[File:Assembler Overdrive.png|50px|center]]
| |
| |TBA
| |
| |[[File:Ultimate Crate Token.png|50px|center]]
| |
| |[[File:Rare Silver Quest Scroll.png|50px|center]]
| |
| |[[File:Forge Catalyst.png|50px|center]]
| |
| |[[File:Boosted Crate Token.png|50px|center]]
| |
| |TBA
| |
| |[[File:Epic Material Crate.png|50px|center]]
| |
| |[[File:Overflowing Currency Pouch.png|50px|center]]
| |
| |[[File:Quest Refresher.png|50px|center]]
| |
| |[[File:Boosted Crate Token.png|50px|center]]
| |
| |TBA
| |
| |[[File:Boosted Crate Token.png|50px|center]]
| |
| |[[File:Legendary Coin Quest Scroll.png|50px|center]]
| |
| |[[File:Assembler Overdrive.png|50px|center]]
| |
| |[[File:Golden Treasure Chest.png|50px|center]]
| |
| |TBA
| |
| |[[File:Prismatic Chroma Pack.gif|50px|center]]
| |
| |[[File:Forge Catalyst.png|50px|center]]
| |
| |[[File:Quest Refresher.png|50px|center]]
| |
| |[[File:Legendary Material Crate.png|50px|center]]
| |
| |TBA
| |
| |TBA
| |
| |-
| |
| |FREE<br />ROAD
| |
| |[[File:Daily Quest Reroll Token.png|50px|center]]
| |
| |[[File:Medium Currency Pouch.png|50px|center]]
| |
| |[[File:Standard Crate Token.png|50px|center]]
| |
| |[[File:Uncommon Silver Quest Scroll.png|50px|center]]
| |
| |TBA
| |
| |[[File:Bronze Treasure Chest.png|50px|center]]
| |
| |[[File:Silver Treasure Key.png|50px|center]]
| |
| |[[File:Uncommon Coin Quest Scroll.png|50px|center]]
| |
| |[[File:Scroll Quest Reroll Token.png|50px|center]]
| |
| |TBA
| |
| |[[File:Large Currency Pouch.png|50px|center]]
| |
| |[[File:Uncommon Questing Crate.png|50px|center]]
| |
| |[[File:Rare Silver Quest Scroll.png|50px|center]]
| |
| |[[File:Silver Treasure Chest.png|50px|center]]
| |
| |TBA
| |
| |[[File:Daily Quest Reroll Token.png|50px|center]]
| |
| |[[File:Silver Treasure Key.png|50px|center]]
| |
| |[[File:Large Currency Pouch.png|50px|center]]
| |
| |[[File:Boosted Crate Token.png|50px|center]]
| |
| |TBA
| |
| |[[File:Scroll Quest Reroll Token.png|50px|center]]
| |
| |[[File:Golden Treasure Key.png|50px|center]]
| |
| |[[File:Rare Coin Quest Scroll.png|50px|center]]
| |
| |[[File:Rare Material Crate.png|50px|center]]
| |
| |[[File:Mastery Key.gif|50px|center]]
| |
| |TBA
| |
| |}
| |
| </div>
| |
| == Update History == | | == Update History == |
| TBA
| | * See [[Private Lobby#Update History|the Private Lobby page]] for Update History related to Dynaball's Plobby Settings. |
| | {{Scrollbox|height=350px|text= |
| | <tabber> |
| | |-|Open Beta= |
| | ==== [[0.24.0]] ==== |
| | * Introduced a new map, Loons. |
| | |
| | ==== [[0.23.0]] ==== |
| | * Introduced two new limited-time maps, Frozen Trees and Slalom, available only for the duration of [[Winter 2024]]. |
| | * Reintroduced two limited-time maps, Presents and Sled, available only for the duration of [[Winter 2024]]. |
| | |
| | ==== [[0.20.2]] ==== |
| | * The Rocket Cannon now once again deals knockback to yourself. |
| | |
| | ==== [[0.20.1]] ==== |
| | * Adjusted Rocket Cannon physics. |
| | ** The physics of the games differed from 0.19 due to some internal changes in how projectile collisions are calculated. These adjustments bring it closer to how it was before. |
| | |
| | ==== [[0.20.0]] ==== |
| | * The action bar now shows which projectile will be shot from your inventory next. |
| | * Rocket Cannon no longer deals knockback to teammates. |
| | * Powder Bombs now award spleefing kill credit. |
| | * Unstable Ammo now builds up slower and is extended when you shoot a non-TNT projectile, break a crate, are stickied, or are knocked back. Not all these sources extend the timer the same. |
| | * Hogging a large amount of the available TNT now results in a player receiving fewer TNT projectiles overall. |
| | |
| | ==== [[0.19.3]] ==== |
| | * Fixed personal score line in scoreboard not showing score based placements. |
| | * Fixed podiums not showing score based placements. |
| | |
| | ==== [[0.19.0]] ==== |
| | * Fixed issues where placement differed between the TAB list and the podium. |
| | * Fixed an issue where players receiving TNT with a full inventory would cause TNT to go missing. |
| | * Fixed an issue where TNT Rain would stop. |
| | |
| | ==== [[0.17.0]] ==== |
| | * Added two new items, Line Charge and TNT Drop. |
| | ** Line Charge - Send this drill spinning at a block and it will burrow inside it, weakening the stack. A few moments later, it will drill out the longest line of blocks from that point in opposite directions either horizontally or vertically. |
| | ** TNT Drop - Point and click to mark a location for detonation! After a brief delay, TNTs will rain from the sky on that spot, exploding immediately on impact. |
| | * Added two new maps, Chessboard and Daruma Otoshi. |
| | * Added a title that says Victory! instead of Game Over! for the winning team. |
| | * Crates now drop items in a predetermined rotation, e.g. you always get two levitation sparks and three TnT drops before the cycle starts again. This means you won’t be swamped with just one item. |
| | * You can no longer replace blocks that were recently exploded (should prevent players from pillaring through an explosion). |
| | * Fixed issue where you could temporarily place blocks outside the map area. |
| | * Fixed issue where blocks would sometimes drop named Acacia Wood instead of Repair Blocks. |
| | |
| | ==== December 31st, 2023 ==== |
| | * Removed Presents and Sled (end of [[Winter 2023]]). |
| | |
| | ==== [[0.15.0]] ==== |
| | * Reduced skeletons spawned from spawners. |
| | * Fixed issue where sparkling blocks could activate multiple times if the block was replaced. |
| | * Fixed exploit where you could infinitely hold tnt without it going unstable. |
| | * Fixed issue where you could receive kill credit on a teammate. |
| | * Removed the sound from the 75% integrity remaining message. |
| | |
| | ==== [[0.14.6]] ==== |
| | * Introduced two new limited-time maps, Presents and Sled, available only for the duration of [[Winter 2023]]. |
| | |
| | ==== [[0.14.0]] ==== |
| | * Introduced two new maps, Cauldron and Wickerman. |
| | |
| | ==== [[0.13.0]] ==== |
| | * Introduced two new maps, XOXO and Jigsaw. |
| | |
| | ==== [[0.12.2]] ==== |
| | * Some additional TNT crates will now drop when there are 2 Dynaballs in play (see the scoreboard for how many Dynaballs are in play). |
| | * Increased Loot Crate drop rate slightly. |
| | * All Sparks of Levitation are now Level III instead of II. This change means that these sparks will now more consistently save you from falling to your death. |
| | * Multiple crates now drop together in groups, meaning it’s harder for one player to take the majority of the crates. |
| | |
| | ==== [[0.12.1]] ==== |
| | * You can now use the off-hand in Dynaball. This does not include the Rocket Cannon which cannot be placed in the off-hand. |
| | |
| | ==== [[0.12.0]] ==== |
| | * Added Dynaball |
| | </tabber> |
| | }} |
